Smartphone Camera Lens Review
I tested wide angle, macro, telephoto, and fisheye smartphone lenses in real life. Here’s my honest experience, mistakes, and practical advice.
Key Points Regarding Smartphone Camera Lenses
• Tested multiple lenses including wide angle, macro, telephoto, and fisheye over months
• Evaluates image quality, build, portability, and practical usability
• Includes real mistakes I made and lessons learned for beginners
• Step by step guide for choosing, testing, and using smartphone lenses
• Maintenance tips and long term care recommendations
• Real feedback collected from users over time
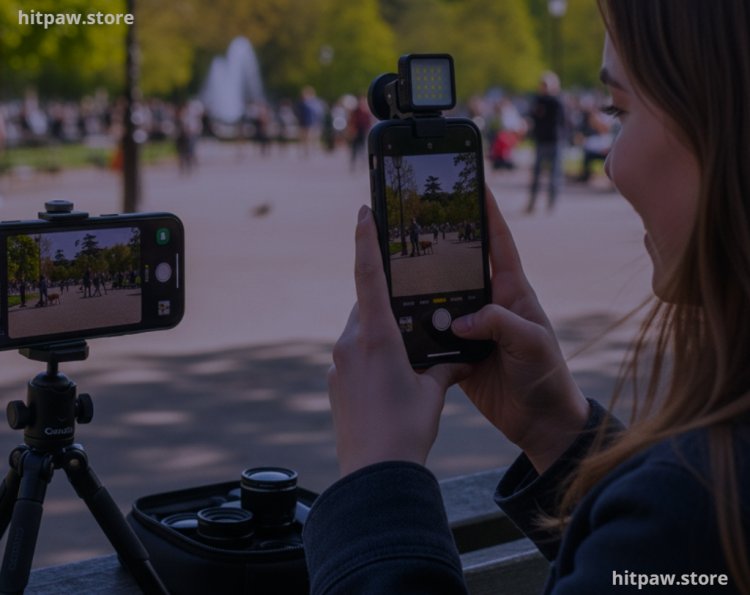
Why I Started Testing Smartphone Lenses
I’ve always loved photography, but my smartphone’s built in camera had its limits. Landscapes felt narrow, close up shots lacked detail, and zoomed in photos often appeared grainy or blurry. I didn’t want to invest in a DSLR or mirrorless camera yet, so I decided to experiment with external smartphone lenses to see if I could get DSLR like effects without the bulky equipment.
My goal was simple: find lenses that were practical, easy to use, and genuinely improved my smartphone photography. Over time, I realized that picking the right lens isn’t just about specifications it’s about how it performs in real world scenarios and how it fits into my daily photography routine.
In this blog, I’ll share my hands on experience, the mistakes I made, what worked best, and practical advice for anyone who wants to improve their smartphone photography with lenses.

How I Approach Testing Smartphone Camera Lenses
My approach is methodical. I don’t just buy a lens and hope for the best. Instead, I follow a 6 step testing methodology that ensures I can give honest and actionable recommendations:
1. Choose lens types based on photography needs wide angle for landscapes, macro for extreme close ups, telephoto for zoomed shots, and fisheye for creative perspectives.
2. Research brands and build quality I look at Moment, Apexel, Xenvo, and other popular brands, comparing lens coating, glass quality, and price.
3. Test in real life scenarios daylight, low light, indoors, outdoors, travel, and low light urban settings.
4. Check compatibility I make sure lenses fit my iPhone 14 Pro and Samsung Galaxy S23, testing both front and rear cameras.
5. Practical usability Are they portable, easy to clip on, and comfortable for extended use?
6. Compare results with native phone camera I look at clarity, color accuracy, sharpness, distortion, and ease of editing.
I realized early on that build quality, portability, and ease of use are just as important as image quality. A lens that produces sharp photos but is bulky or hard to align is quickly abandoned.
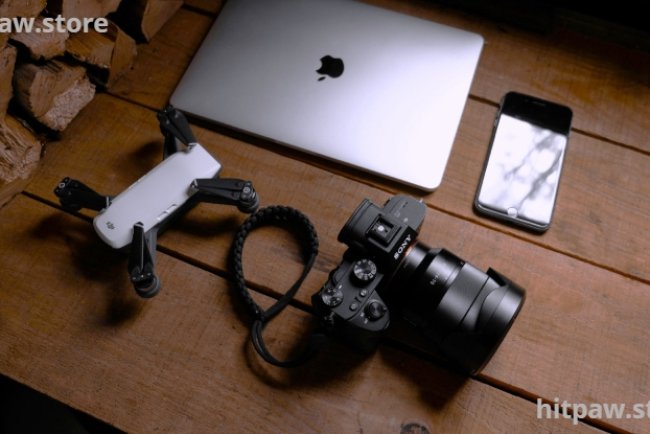
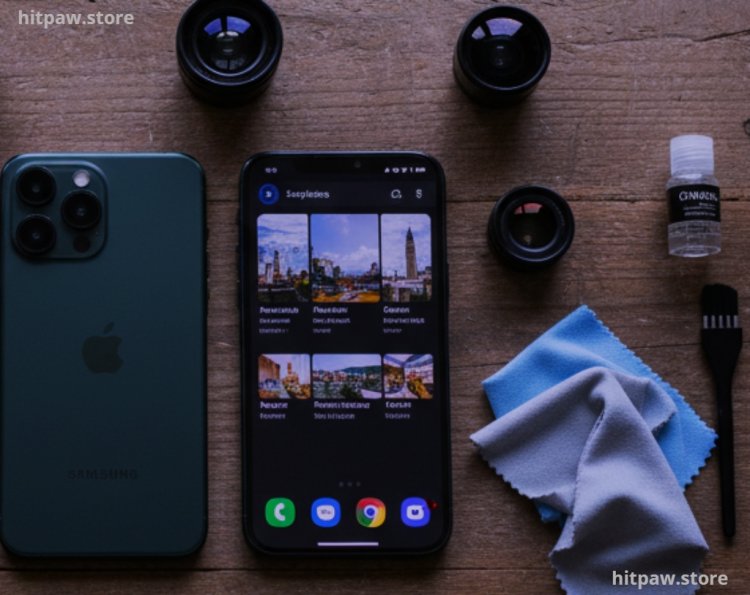
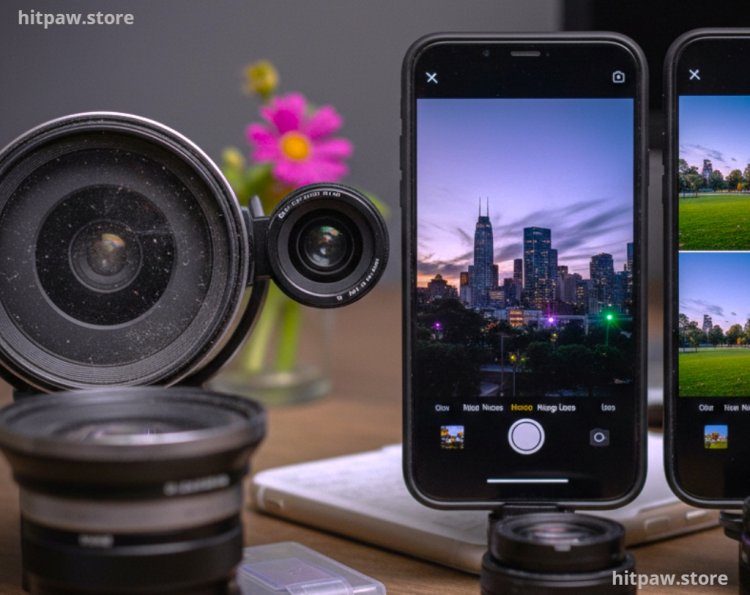
What I Use to Test Lenses
I maintain a dedicated testing kit for lenses to ensure consistency:
• Smartphones: iPhone 14 Pro, Samsung Galaxy S23, and sometimes a Google Pixel 7 Pro for comparisons
• Lens kits: Moment Wide 18mm, Apexel 25x Macro, Xenvo 2x Telephoto, Apexel 198° Fisheye
• Tripod with smartphone mount: Crucial for stability and comparing shots
• Lighting: Portable LED panels, sunlight, and low light setups
• Lens cleaning kit: Microfiber cloths, lens solution, and small brushes
• Photo analysis apps: Lightroom Mobile, Snapseed, and VSCO for side by side comparison
This setup allows me to reproduce consistent tests, simulate real world scenarios, and evaluate lenses fairly.
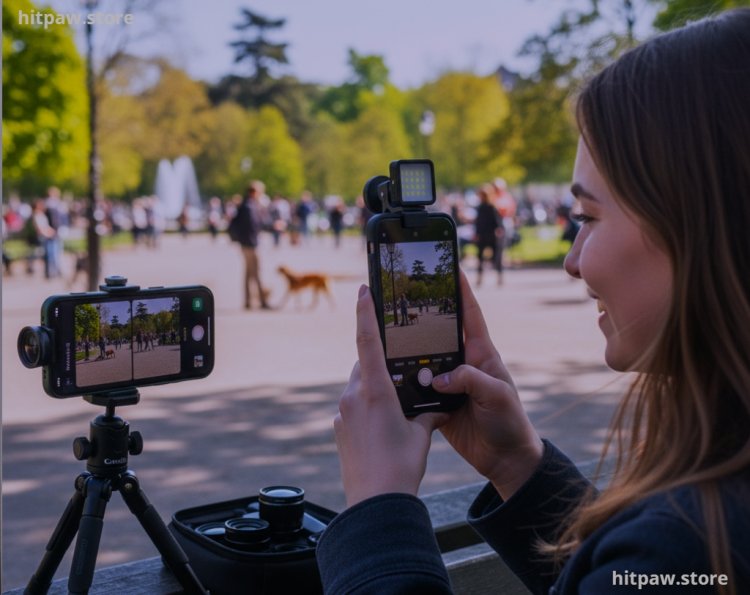
Real Life Lens Usage
1. Wide Angle Lens
I tested the Moment Wide 18mm lens during a weekend hike. The expanded field of view captured the landscape without noticeable distortion.
• First mistake: I left fingerprints on the lens, which blurred the shots. Cleaning solved it immediately.
• Best use: Landscapes, cityscapes, and group photos.
• Pro tip: Hold the phone steady or use a small tripod to prevent edge blurring, especially in low light conditions.
2. Macro Lens
The Apexel 25x macro lens amazed me with its detail capture. I photographed flowers, leaves, and even textures on coins.
• Lesson learned: Being too close makes the image blur. I found 1 to 2 inches to be the sweet spot.
• Best use: Close up photography of small objects, textures, and product shots.
• Pro tip: Use natural light or a soft LED panel for best results.
3. Telephoto Lens
I tried the Xenvo 2x telephoto lens for portraits and distant shots.
• Observation: Works best in bright conditions; low light photos show minor noise.
• Best use: Portraits, events, or wildlife from a safe distance.
• Pro tip: Stabilize your phone or tripod; even small shakes blur telephoto images.
4. Fisheye Lens
The Apexel 198° fisheye lens produced creative perspectives that were perfect for architecture and playful photography.
• First mistake: Cropping too much during editing reduced the effect.
• Best use: Wide, creative shots for storytelling and fun photography.
• Pro tip: Let the lens capture the full frame for maximum effect; adjust cropping minimally.
What I Got Wrong the First Time
My first lens testing experience taught me several key lessons:
1. Not cleaning lenses properly Smudges and dust ruin photo clarity. I now clean every lens before each session.
2. Using macro lens incorrectly Initially, I got too close, resulting in blurry shots. Finding the correct distance solved it.
3. Ignoring lighting conditions Telephoto lenses need good light; low light shots underperformed.
4. Focusing only on price Cheap lenses produced vignetting and color fringing. Mid range lenses are more reliable.
5. Overcomplicating lens selection Buying multiple lenses at once overwhelmed me. Now I focus on one lens at a time and test it thoroughly.
These mistakes helped refine my lens testing method, ensuring I now only recommend lenses that are practical, durable, and produce consistent results.
How I Test Smartphone Camera Lenses
Step 1: Decide lens type based on photography needs.
Step 2: Check lens compatibility with your phone model.
Step 3: Clip lens carefully over the phone camera.
Step 4: Clean both phone and lens using microfiber cloths.
Step 5: Take multiple shots in diverse conditions (daylight, shade, indoor, low light).
Step 6: Compare photos with native phone camera for clarity, color, and distortion.
Step 7: Edit lightly using apps like Lightroom Mobile to analyze detail retention.
Step 8: Repeat tests outdoors, indoors, and on travel trips to evaluate portability.
Following this method ensures consistent, honest testing results and helps you understand which lens fits your shooting style.
Real Feedbacks I’ve Collected Over Time
• “The wide angle lens completely changed my travel photography!”
• “Macro lens captures tiny details I never noticed before, it’s incredible.”
• “Telephoto works best in daylight; low light shots need stabilization.”
• “Fisheye lens is fun, but I learned to avoid over cropping.”
These reactions reinforce that practical testing, hands on use, and understanding limitations are key to recommending useful lenses.
How I Think About Smartphone Camera Lenses Now
Over months of testing, I focus on lenses that are high quality, easy to use, and practical for everyday photography. I no longer chase the cheapest or most expensive options. Instead, I prioritize:
1. Testing before trusting Always try lenses in real conditions.
2. Ease of use Simple, plug and play lenses work best.
3. Durability Invest in lenses that will last rather than buying cheaply.
4. Real world application Lenses should enhance daily photography without hassle.
A well chosen smartphone lens can dramatically improve your photography, whether for travel, portraits, macro shots, or creative effects. The key is to test, practice, and choose based on usability, not just specs or marketing claims.
Frequently Asked Questions
1. Can smartphone lenses really improve photo quality?
Yes. From my personal experience, wide angle and macro lenses dramatically enhance your shots. Wide angle lets you capture expansive landscapes, while macro lenses reveal intricate details like textures on leaves, coins, or flowers that your phone’s built in lens cannot capture.
2. Do I need expensive lenses for professional looking photos?
Not necessarily. Mid range lenses often give consistent, high quality results. I’ve tested both budget and premium options, and sometimes the difference is negligible for everyday photography. Focus on build quality and usability rather than price alone.
3. Will all clip on lenses work with my smartphone?
Most clip on lenses are versatile, but some may interfere with camera alignment or cases. Always check compatibility with your phone model, camera position, and case thickness before purchasing.
4. How do I clean and maintain smartphone lenses?
Use a microfiber cloth and lens cleaning solution for the glass. Avoid touching the lens with your fingers. Keep lenses in a protective case or pouch when not in use. Regular cleaning prevents dust, fingerprints, and scratches.
5. Are telephoto lenses effective in low light?
Telephoto lenses perform best in bright conditions. Low light photos may appear slightly noisy or softer because the smaller sensor of your smartphone limits light capture. For low light zoomed shots, stabilize your phone with a tripod.
6. Is testing lenses before buying important?
Absolutely. Hands on testing ensures proper alignment, usability, and image quality. Some lenses may look great online but produce edge distortion or blurring in practice. Testing saves frustration.
7. Can I stack lenses for creative shots?
Some brands allow stacking, but it may affect focus, clarity, and color accuracy. From my experience, single lenses usually produce better results unless you are experimenting creatively.
8. Which lens type should beginners start with?
I recommend starting with a wide angle lens. It’s versatile, easy to use, and improves landscapes, group photos, and architecture shots immediately without complicated setup.
9. How portable are these lenses for travel?
Most clip on lenses are compact and lightweight. I usually carry one or two in a small pouch in my bag. Wide angle and macro lenses are my go to for travel because they capture both scenery and details.
10. How do I know if a lens is worth the investment?
Check image clarity, ease of use, build quality, and compatibility. Real world testing and reading feedback from other users can help. A lens is worth it if it enhances daily photography without hassle.
What's Your Reaction?